How to fit a plaster ceiling rose

To fit a plaster ceiling rose, you mark the centre of the ceiling, isolate the lighting circuit and have an electrician take down the light fitting, then fix the rose with a gap-filling adhesive and screws driven into the joists above. Once the adhesive has set, you fill the screw holes, run a fine bead of caulk around the edge and paint. The light fitting goes back up last, again by an electrician.
It is a job most competent DIYers can manage in an afternoon, with a second pair of hands. Plaster is heavier than foam or plastic, so the fixing matters more than the glue. Below is the general method. For the specific guidance that comes with our own pieces, read our fitting instructions first.
Tools and materials
- Stud and joist detector. To find the joists without guesswork.
- Drill and bits. A masonry or plaster bit for the rose, a wood bit for pilot holes in the joists.
- Screws. Wood screws long enough to pass through the rose and the ceiling and bite well into the timber.
- Gap-filling adhesive. A cornice adhesive or a solvent-free grab adhesive suited to plaster.
- Fine surface filler and decorator's caulk. For screw holes and the joint with the ceiling.
- Pencil, string, tape measure, step ladder and dust sheets.
- Something to prop the rose. A padded timber prop or a helper while the adhesive grips.
Find the centre
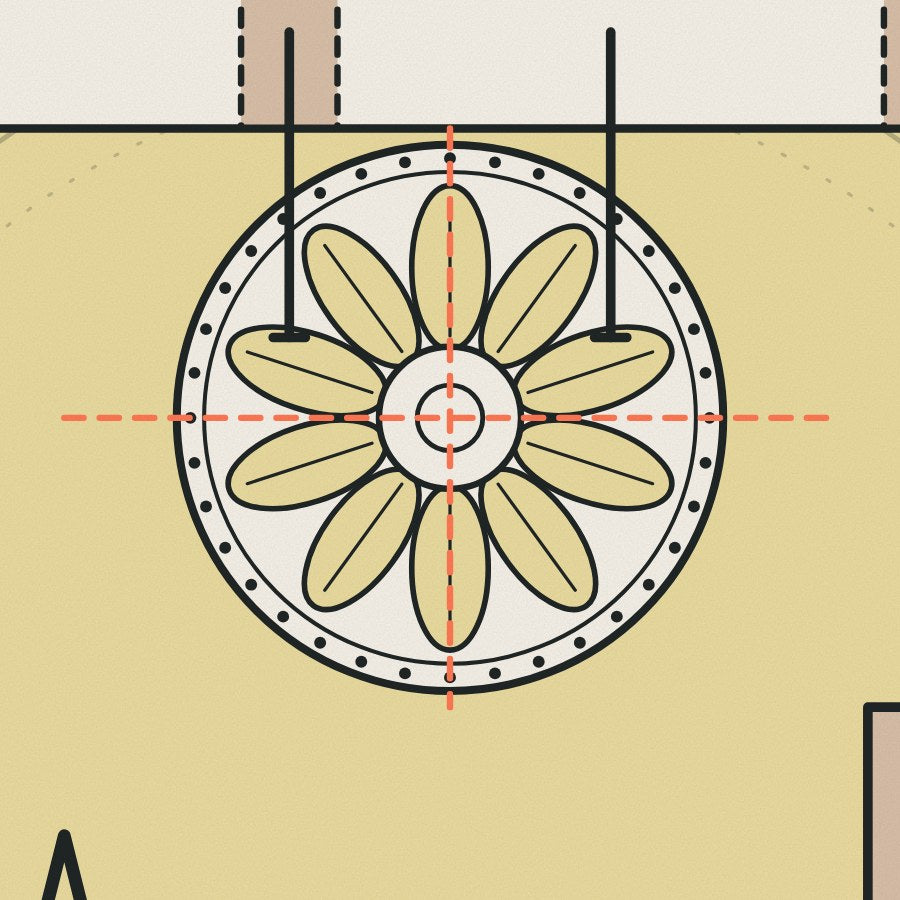
A rose looks wrong if it sits a few centimetres off. In a square or rectangular room, stretch string diagonally from corner to corner, or measure and pencil the diagonals. Where they cross is the centre. In a room with a chimney breast or a bay, decide which part of the room the rose should belong to and measure from that.
Check where the existing light point is. It is often not at the true centre, especially in houses that have been rewired. If the two disagree, an electrician can move the point before the rose goes up. It is much easier to sort this now than later.
Isolate power and call the electrician
Switch off and isolate the lighting circuit at the consumer unit before anyone touches the ceiling around the light. A wall switch alone is not isolation.
Taking down and refitting a light fitting should be done by a qualified electrician. In England and Wales, electrical work in homes falls under Part P of the Building Regulations, and some work is notifiable. A good electrician will also check the condition of the old flex and ceiling fitting while it is down, which is worth doing in an older house. The rose needs a central hole for the cable to pass through; agree its size with the electrician before you drill.
The adhesive holds the rose in place while it sets. The screws are what keep it up.
Fix the rose
Use the joist detector to mark the line of the joists across the area the rose will cover. Ceiling joists in British houses usually run in one direction at regular spacing, so finding one tells you roughly where the next is. Then:
- Dry fit. Offer the rose up, mark its outline lightly in pencil and mark where screws can go through it into a joist.
- Drill the rose. Drill slowly from the face, through a flat or plain area of the design, and countersink slightly so the screw heads sit below the surface.
- Prepare the ceiling. Scrape off loose paint or flaking distemper inside the pencil line. Adhesive bonds to sound plaster, not to dust.
- Apply adhesive. Butter the back of the rose around the rim and across the flat bed, keeping it away from the cable hole.
- Press and screw. Press the rose firmly into place, then drive the screws into the joists. Tighten until snug. Overtightening can crack plaster.
- Support it. Prop the rose or hold it until the adhesive takes, and wipe away squeeze-out with a damp sponge before it sets.
If the ceiling itself is cracked, bowing or sounds hollow, stop. Fixing a heavy piece to a failing ceiling is a risk. Have the ceiling checked first.
Fill and finish
When the adhesive has cured, fill over the screw heads with fine filler, leave it slightly proud, then sand it flush once dry. Run a thin bead of decorator's caulk around the edge where the rose meets the ceiling and smooth it with a wet finger. This hides any small gap where the ceiling is uneven.
Natural plaster is absorbent, so seal it before the top coats. Our guide to painting a plaster ceiling rose covers the mist coat and colour choices. Many people paint the rose on a table before fitting and only touch up the filler and edge afterwards, which saves a lot of time on the ladder.
Before you start
Check the rose suits the room before anything is drilled. Our guide to choosing a ceiling rose size explains how to scale it to the ceiling. Every Flare rose is hand-cast to order in Shrewsbury in natural plaster, ready to paint with ordinary emulsion. Browse the ceiling rose collection, and keep our fitting instructions to hand on the day.
Good to know
Common questions
Do you need screws to fit a plaster ceiling rose?
Yes. Plaster is much heavier than foam or polyurethane, so adhesive alone is not enough. Use a gap-filling adhesive to bed the rose and hold it while it sets, then drive wood screws through flat areas of the rose and into the ceiling joists, which carry the weight.
Can I fit a ceiling rose myself?
Most competent DIYers can fix the rose itself in an afternoon with a helper. Taking down and refitting the light fitting is electrical work and should be done by a qualified electrician, with the lighting circuit isolated at the consumer unit. In England and Wales such work falls under Part P.
Should I paint a ceiling rose before or after fitting?
Many people paint it on a table before fitting, which saves time on the ladder, then touch up the filled screw holes and caulked edge afterwards. Raw plaster is absorbent, so start with a mist coat of thinned emulsion to seal it, then apply ordinary emulsion top coats.
Sources
References and further reading
Harvard style. Web pages were checked on the access date shown.
- Ministry of Housing, Communities and Local Government (2013) Electrical safety: Approved Document P. Available at: www.gov.uk/government/publications/electrical-safety-appr... (Accessed: 8 October 2026).
- Planning Portal (n.d.) Approved Document P: Electrical safety. Available at: www.planningportal.co.uk/applications/building-control-ap... (Accessed: 8 October 2026).
- Electrical Safety First (n.d.) Electrical safety advice for DIY-ers. Available at: www.electricalsafetyfirst.org.uk/safety-advice/home-and-p... (Accessed: 8 October 2026).
- FIS (n.d.) Repair of Historic Ceilings. Available at: www.thefis.org/membership-hub/publications/best-practice-... (Accessed: 8 October 2026).
- Millar, W. and Bankart, G.P. (2010) Plastering Plain and Decorative. 4th revised edn. Abingdon: Routledge.
How to cite this article
Tire, G. (2026) ‘How to fit a plaster ceiling rose’, The Flare Journal. Flare Studio UK. Available at: https://flarestudio.uk/blogs/journal/how-to-fit-a-plaster-ceiling-rose (Accessed: 12 October 2026).
Shop the style